Thank you for purchasing Koira template. This documentation will help to know more about template and how is structured and how to use the template features.
Koira is a template for multi purpose sites built on
Bootstrap Framework
Requirements
To be able to use HTML template, you must have the following:
- Make sure you upload the required assets files/folders listed below:
assets/css- Extra Stylesheets Folderassets/images- Images Folderassets/js- Javacripts Folderassets/css/style.css- Main Stylesheet Fileindex.html- Index File/Homepage
Installation
Follow the steps below to get started with your Koira Template:
- Open the
PackageFolder to find all the html Templates Files - You will need to Upload these files to localhost server or your Web Server using FTP in order to use it on your Website.
- Make sure you upload the required files/folders listed below:
assets- Required all file Folder.- Select
home-modern.htmlwhich want to use. - change
index.htmlname file toindex.html- Index File
File Structure
unzip the compressed archive to see the following structure:
 Koira/
  ├── Documentation/
  ├──
      ├── assets/
          ├── css
          ├── images
          ├── fonts
          ├── js
          ├── scss
      ├── index(intro)
      ├── home-classic.html
      ├── ...
      └── why-us.html
Html Structure
we use the bootstrap framework as a framework. You can take a look at bootstrap here and see it's feature in action.
And basic layout of the grids look like:
<div class="row">
  <div class="col-md-9">
    Level 1: .col-md-9
    <div class="row">
      <div class="col-sm-8 col-md-6">
        Level 2: .col-sm-8 .col-md-6
      </div>
      <div class="col-sm-4 col-md-6">
        Level 2: .col-sm-4 .col-md-6
      </div>
    </div>
  </div>
</div>
If you find that you need to change structure. Scroll down in your html file and find section that you want to change , all section have predefined html comments like below section example.
CSS Structure
Here's a list of the stylesheet files I'm using with this template, you can find more information opening each file:
| File Name | Description |
|---|---|
libraries.css |
This is a bunch of cool, fun, and minify for all external css resources you can found this resources in css folder. and This are generic styles, resets & normalization.you can take a look |
style.css |
This is the main css file, it contains all the styles of the website. |
sass CSS Structure
Here's a list of sass CSS files I'm using with this template, you can find more information opening each file:
| File Name | Description |
|---|---|
style.scss |
This are generic styles and collect all files. |
Global Folder |
This folder contain base sass css file and variable file. If you want to change any variable you can go through it. |
Layout Folder |
This folder contain layout sass css files like accordion, align, background, list and etc.. |
Module Folder |
This folder contain block and section sass css files like action, feature, screenshot, etc... |
Javascript Structure
The js (scripts) files are loaded in footer. I loaded js Library in the bottom because it will increase the site speed and rendering.
The JS files used in this template are:
| File | Description |
|---|---|
jquery-3.3.1.min.js |
jQuery is a Javascript library that greatly reduces the aKoira of code that you must write. |
plugins.js |
this bring all javascript plugins to life which we compresed all plugins to min. |
main.js |
this to active javascript function and add some coll function to your landing page. |
Change Fonts
To change the font, Check head inindex.html then in
first go to google fonts choose a
font
and use the generated code and replace with next code.
<link rel="stylesheet" href="https://fonts.googleapis.com/css?family=Teko:400,500,700|Roboto:400,500,600,700&display=swap">
Next Step : change font family for body in
style.css
body {
	font-family: "Teko", sans-serif;/*Change font*/
}
h1,h2,h3,h4,h5,h6{
	font-family:"Roboto", sans-serif;/*Change font*/
}
Change Spacing
we uses helper classes to space elements on Koira template. Helper classes are used to space elements with margin and padding. This makes it easier to create your own elements in HTML without needing extra CSS to arrange them appropriately.
AVAILABLE CLASSES
/* Margin  */
.m-0 {
    margin: 0 !important;
}

/*  margin Top */
.mt-0 {
    margin-top: 0 !important;
}

.mt-10 {
    margin-top: 10px !important;
}

.mt-20 {
    margin-top: 20px !important;
}

.mt-30 {
    margin-top: 30px !important;
}

.mt-40 {
    margin-top: 40px !important;
}

.mt-50 {
    margin-top: 50px !important;
}

.mt-60 {
    margin-top: 60px !important;
}

.mt-70 {
    margin-top: 70px !important;
}

.mt-80 {
    margin-top: 80px !important;
}

.mt-90 {
    margin-top: 90px !important;
}

.mt-100 {
    margin-top: 100px !important;
}

/* Margin Bottom */
.mb-0 {
    margin-bottom: 0 !important;
}

.mb-10 {
    margin-bottom: 10px !important;
}

.mb-20 {
    margin-bottom: 20px !important;
}

.mb-25 {
    margin-bottom: 25px !important;
}

.mb-30 {
    margin-bottom: 30px !important;
}

.mb-40 {
    margin-bottom: 40px !important;
}

.mb-50 {
    margin-bottom: 50px !important;
}

.mb-60 {
    margin-bottom: 60px !important;
}

.mb-70 {
    margin-bottom: 70px !important;
}

.mb-80 {
    margin-bottom: 80px !important;
}

.mb-90 {
    margin-bottom: 90px !important;
}

.mb-100 {
    margin-bottom: 100px !important;
}

/* Margin Right */
.mr-0 {
    margin-right: 0 !important;
}

.mr-20 {
    margin-right: 20px !important;
}

.mr-30 {
    margin-right: 30px !important;
}

.mr-40 {
    margin-right: 40px !important;
}

.mr-50 {
    margin-right: 50px !important;
}

/* Margin Left */
.ml-0 {
    margin-left: 0 !important;
}

.ml-20 {
    margin-left: 20px !important;
}

.ml-30 {
    margin-left: 30px !important;
}

.ml-40 {
    margin-left: 40px !important;
}

.ml-50 {
    margin-left: 50px !important;
}

/*  padding  */
.p-0 {
    padding: 0 !important;
}

/* padding Top */
.pt-0 {
    padding-top: 0 !important;
}

.pt-20 {
    padding-top: 20px !important;
}

.pt-30 {
    padding-top: 30px !important;
}

.pt-40 {
    padding-top: 40px !important;
}

.pt-50 {
    padding-top: 50px !important;
}

.pt-60 {
    padding-top: 60px !important;
}

.pt-70 {
    padding-top: 70px !important;
}

.pt-80 {
    padding-top: 80px !important;
}

.pt-90 {
    padding-top: 90px !important;
}

.pt-100 {
    padding-top: 100px !important;
}

.pt-110 {
    padding-top: 110px !important;
}

.pt-120 {
    padding-top: 120px !important;
}

.pt-130 {
    padding-top: 130px !important;
}

.pt-140 {
    padding-top: 140px !important;
}

.pt-150 {
    padding-top: 150px !important;
}

/*  Padding Bottom */
.pb-0 {
    padding-bottom: 0 !important;
}

.pb-10 {
    padding-bottom: 10px !important;
}

.pb-20 {
    padding-bottom: 20px !important;
}

.pb-30 {
    padding-bottom: 30px !important;
}

.pb-40 {
    padding-bottom: 40px !important;
}

.pb-50 {
    padding-bottom: 50px !important;
}

.pb-60 {
    padding-bottom: 60px !important;
}

.pb-70 {
    padding-bottom: 70px !important;
}

.pb-80 {
    padding-bottom: 80px !important;
}

.pb-90 {
    padding-bottom: 90px !important;
}

.pb-100 {
    padding-bottom: 100px !important;
}

.pb-110 {
    padding-bottom: 110px !important;
}

.pb-120 {
    padding-bottom: 120px !important;
}

.pb-130 {
    padding-bottom: 130px !important;
}

.pb-140 {
    padding-bottom: 140px !important;
}

.pb-150 {
    padding-bottom: 150px !important;
}

/* padding Right */
.pr-0 {
    padding-right: 0 !important;
}

.pr-15 {
    padding-right: 15px !important;
}

.pr-20 {
    padding-right: 20px !important;
}

.pr-30 {
    padding-right: 30px !important;
}

.pr-50 {
    padding-right: 50px !important;
}

.pr-60 {
    padding-right: 60px !important;
}

.pr-70 {
    padding-right: 70px !important;
}

.pr-100 {
    padding-right: 100px !important;
}

/* padding Left */
.pl-0 {
    padding-left: 0 !important;
}

.pl-15 {
    padding-left: 15px !important;
}

.pl-20 {
    padding-left: 20px !important;
}

.pl-30 {
    padding-left: 30px !important;
}

.pl-50 {
    padding-left: 50px !important;
}

.pl-60 {
    padding-left: 60px !important;
}

.pl-70 {
    padding-left: 70px !important;
}

.pl-100 {
    padding-left: 100px !important;
}
Change Color
yellow hats has a number of included colour schemes that you can switch to at any
time. To switch colour schemes, simply replace color code in
style.css
with what you need.
<!-- COLORS -->
Primary Color   : #ff5e14
Secondary Color : #222222
Body Color      : #9b9b9b
Heading Color   : #1b1b1b
Change Favicon
The main favicon is located in assets/images/favicon/favicon.png
replace
with your own.
<link href="assets/images/favicon/favicon.png" rel="icon">
Change logo
Just edit the logo-light.png from the folder
assets/images/logo/ or open index.html and you should
see
the tag there:
<img src="assets/images/logo/logo-light.png" class="logo-light" alt="logo">
Change background
You can use the backgorund image using the Following code:
<div class="bg-img" >
    <img src="assets/images/background/1.jpg" alt="Background"/>
</div>
We used class to add backgound to feature , call to action section and etc. you
can
find this backgorunds in images folderassets/images/bg, and you can
Find this background in style.css.
You can choose between 3 Types of background overlay while creating your
section,
bg-overlay,
bg-overlay-2,bg-overlay-3.
you can change background opacity from style.css
Change Icons
we use icon fonts with easy control in color and size so feel free to use more than 600 icon , you can check this icon:
- Font Awesome – https://fontawesome.com/v4.7.0/icons/
Change Page Title
You can choose between 16 layouts of page title while creating your Pages. Simply adding the page title section to your page and change the page title content with that you need, you can find all page title sections in
<!-- Page Title #1
============================================= -->
<section class="page-title page-title-layout2 text-center bg-overlay bg-overlay-2">
  <div class="bg-img" >
    <img src="assets/images/page-titles/2.jpg" alt="Background"/>
  </div>
  <div class="container">
    <div class="row">
        <div class="col-sm-12 col-md-12 col-md-12">
            <h1 class="pagetitle__heading">page title</h1>
        </div><!-- .col-md-12 end -->
    </div><!-- .row end -->
  </div><!-- .container end -->
</section>
Change Heading
You can choose between 3 Types of heading section while creating your Pages. Simply adding the heading section to your section and change heading content with that you need .
<!-- Heading #1
============================================= -->
<section class="bg-gray">
	<div class="container">
		<div class="row">
			<div class="col-sm-12 col-md-12 col-md-8">
				<div class="heading">
					<h2 class="heading__title">....</h2>
					<p class="heading__desc">...</p>
				</div><!-- .heading end -->
			</div><!-- .col-md-8 end -->
		</div><!-- .row end -->
	</div><!-- .container end -->
</section>
Section Background & Parallax
Add Dark Backgroud to Section:
<section class="bg-dark">
    <div class="container">

        ...

    </div>
</section>
Add white Background to Section:
<section class="bg-white">
    <div class="container">

        ...

    </div>
</section>
Add gray Background to Section:
<section class="bg-gray">
    <div class="container">

        ...

    </div>
</section>
Set backround img to Section:
<section>
    <div class="bg-img">
        <img src="your img path">
    </div>
    <div class="container">

        ...

    </div>
</section>
Set backround img overlay to Section:
<section class="bg-overlay bg-overlay-dark">
    <div class="bg-img">
        <img src="your img path">
    </div>
    <div class="container">

        ...

    </div>
</section>
Setting up Parallax Sections:
Make sure your Parallax Images are of enough Width &
Height, preferably 1920x1080 or above.
<section class="bg-parallax">
    <div class="bg-img">
        <img src="your img path">
    </div>
    <div class="container">

    ...

    </div>
</section>
Accordion
Screenshoot: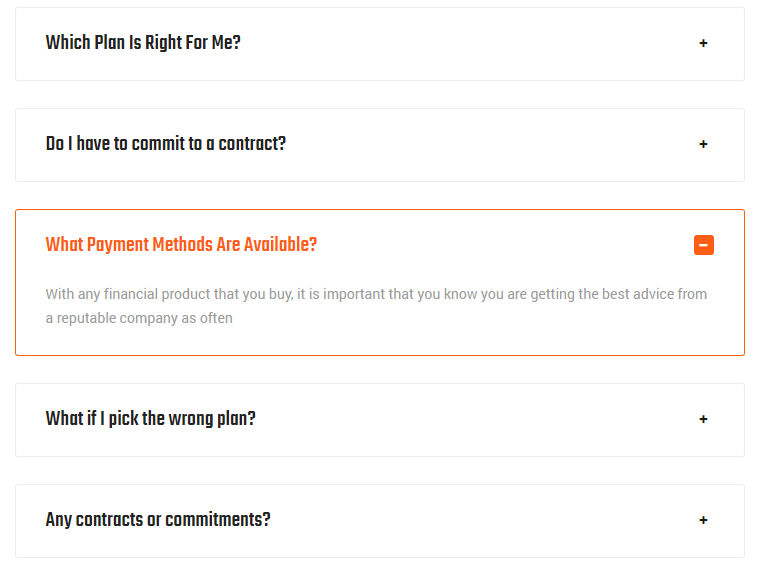
<div id="accordion">
 <div class="accordion-item">
    <div class="accordion__item-header">
        <a class="accordion__item-title"  data-toggle="collapse" data-target="#collapse1">...</a>
    </div>
    <div>  id="collapse1" class="collapse show" data-parent="#accordion">
        ....
    </div>
  </div>
</div>
Wrap any content inside accordions
Buttons
Screenshoot: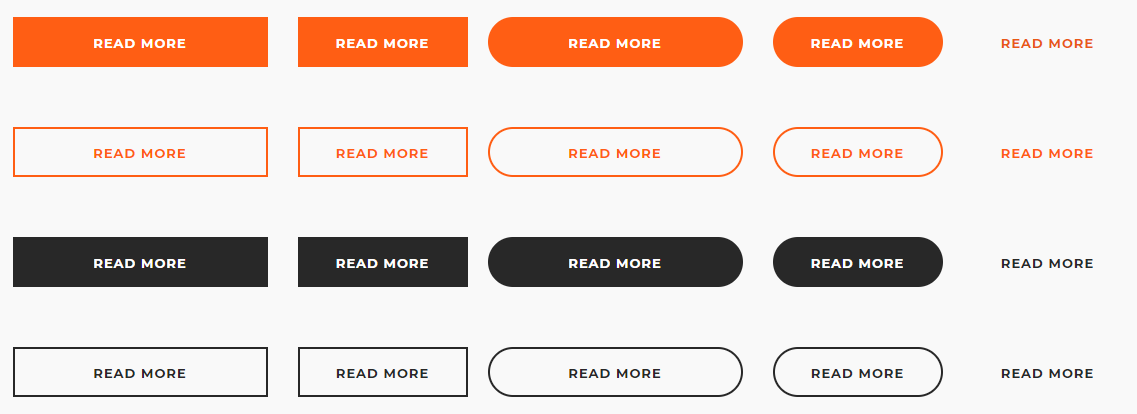
<a class="btn btn__primary" href="#">...</div>
Replace the highlighted yellow text(#) with button link
wrap any content inside button Styles By using this style classes:
- btn__primary
- btn__secondary
- btn__white
if you want to make button rounded add this class btn__rounded
if you want to make button with border add this class btn__bordered
if you want to make button with inverse hover add this class
btn__hover2
Carousel
<section  id="clients1" class="clients clients-1">
     <div class="container">
        <div class="row">
            <div class="col-sm-12 col-md-12 col-md-12">
                <div  class="carousel owl-carousel" data-slide="6" data-slide-md="4" data-slide-sm="3" data-autoplay="true" data-nav="false" data-dots="false" data-space="0" data-loop="true" data-speed="700">
                    <div class="client">
                         <img class="center-block" src="img path" alt="client">
                    </div>
                    <div class="client">
                         <img class="center-block" src="img path" alt="client">
                    </div>
                    <div class="client">
                         <img class="center-block" src="img path" alt="client">
                    </div>
                    <div class="client">
                         <img class="center-block" src="img path" alt="client">
                    </div>
                    <div class="client">
                         <img class="center-block" src="img path" alt="client">
                    </div>
                    <div class="client">
                         <img class="center-block" src="img path" alt="client">
                    </div>
                </div>
            </div>
         </div>
     </div>
 </div>
All Carousel has some data attributes which can control carousel form it:
| Attributes | Description |
|---|---|
data-slide="6" |
Number of carousel items to be show |
data-slide-rs="2" |
Number of carousel items to be show in mobile screens which width more than 600px |
data-autoplay="false" |
Enable or Disable carousel auto play |
data-nav="false" |
Enable or Disable carousel navigation arrows, you can use one of
navigation style by using this classes: carousel-navs
slider-navs |
data-dots="false" |
Enable or Disable carousel dots , you can use one of navigation
style by
using this classes: carousel-dots
carousel-dots carousel-white |
data-space="0" |
Size of space between carousel items |
data-loop="true" |
Enable or Disable carousel items loop |
data-speed="3000" |
Speed of transition carousel |
Wrap any content inside clients carousel:
Contact Form
Screenshoot: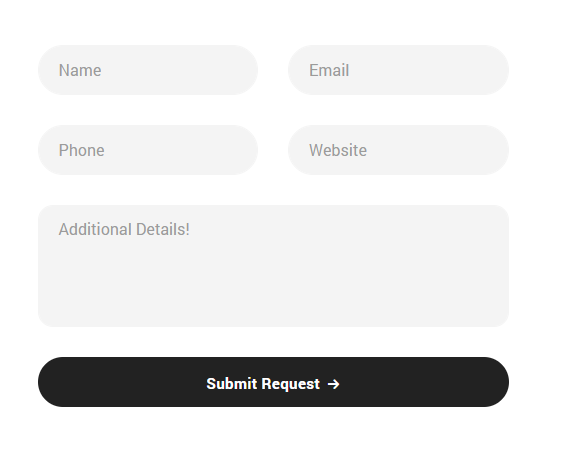
<form>
        <div class="row">
            <div class="col-sm-6 col-md-6 col-lg-6">
                <div class="form-group"><input type="text" class="form-control" placeholder="Name"></div>
        </div>
        <div class="col-sm-6 col-md-6 col-lg-6">
                <div class="form-group"><input type="email" class="form-control" placeholder="Email"></div>
        </div>
        </div>
    <div class="row">
    <div class="col-sm-6 col-md-6 col-lg-6">
    <div class="form-group"><input type="text" class="form-control" placeholder="Phone"></div>
        </div>
        <div class="col-sm-6 col-md-6 col-lg-6">
                <div class="form-group"><input type="text" class="form-control" placeholder="company"></div>
        </div>
    </div>
    <div class="row">
            <div class="col-sm-12 col-md-12 col-lg-12">
                <button type="submit" class="btn btn__rounded btn__primary btn__hover3">Submit Request</button>
        </div>
    </div>
</form>
counter
Screenshoot: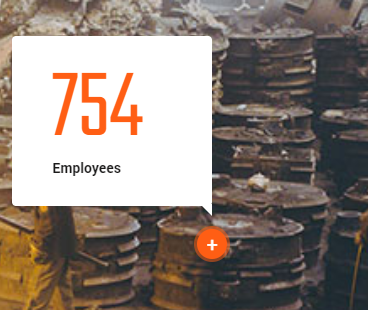
<div class="col-sm-6 col-md-3 col-md-3">
  <div class="counter-item">
    <h4 class="counter">...</h4>
    <div class="counter__divider"></div>
    <p class="counter__desc">...</p>
</div>
-
<div class="counting">
type the numbers that you want to count to for example 1200...</div>
pricing
Screenshoot: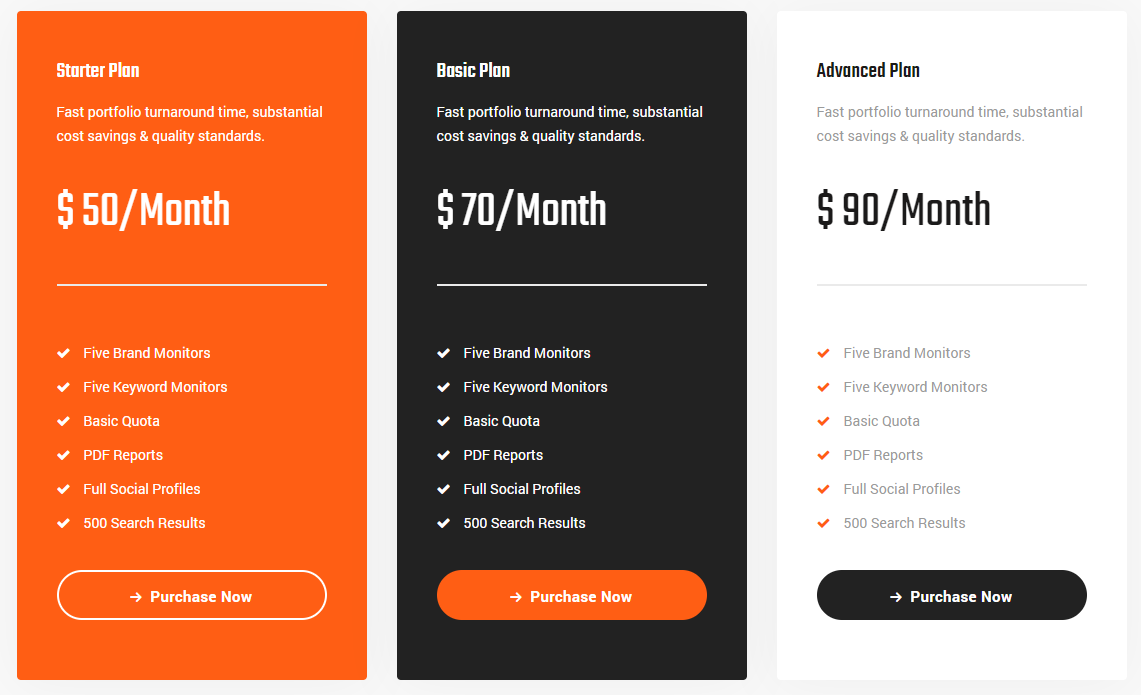
<div class="pricing-item">
    <div class="pricing__header">
        <h5 class="pricing__title">...</h5>
         <div class="pricing__price">
        <span class="pricing__currency">$</span>50<span class="pricing__time"> / Monthly</span>
        </div>
        <p class="pricing__desc">...</p>
    </div>
    <div class="pricing__content">
        <ul class="pricing__list list-unstyled">
            <li>...</li>
            <li>...</li>
            <li>...</li>
            <li>...</li>
            <li>...</li>
            <li>...</li>
        </ul>
    <a class="btn btn__rounded btn__secondary btn__bordered" href="#">...</a>
</div>
Replace the highlighted yellow text(#) with button link
Team
Screenshoot: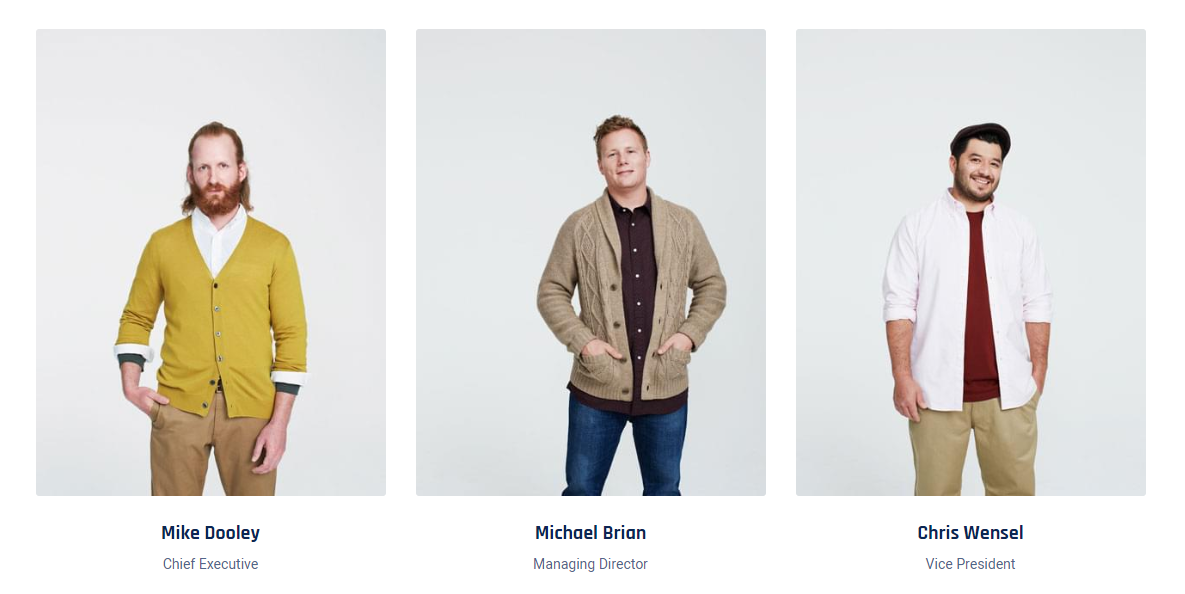
<div class="member">
    <div class="member__img">
        <img src="write img path" alt="member" />
    </div>
    <div class="member__info">
        <h6 class="member__name">...</h6>
        <p  class="member__desc">...</p>
    </div>
        <div class="social__icons justify-content-center">
        <a href="#"> <i class="fa fa-facebook"></i> </a>
        <a href="#"> <i class="fa fa-twitter"></i> </a>
        <a href="#"> <i class="fa fa-instagram"></i> </a>
    </div>
</div>
Replace the highlighted yellow text(#) with link
you can Replace the highlighted pink text with other social icons from here Fontawesome
testimonials
You can choose between 6 testimonial section while you creating your pages. Simply adding section to your page. you can find all widgets in.
Screenshoot:
<div id="testimonial-carousel" class="carousel carousel-dots" data-slide="2" data-slide-rs="1" data-autoplay="false" data-nav="false" data-dots="true" data-space="30" data-loop="true" data-speed="800">
        <div class="testimonial-item">
        <div class="testimonial__content">
            <p class="testimonial__desc">...</p>
        </div>
             <div class="testimonial__thumb">
                <img src="write img path" alt="Testimonial Author">
            </div>
            <div class="testimonial__icon"></div>
            <div class="testimonial__meta">
                <h5 class="testimonial__meta-title">...</h5>
                <pclass="testimonial__meta-desc">...</p>
            </div>
    </div>
wrap any content inside testimonials
- testimonial-1
- testimonial-2
- testimonial-3
Video Banner
Screenshoot:
    <div class="video__btn">
       <a class="popup-video" href="https://www.youtube.com/watch?4=&v=TKnufs85hXk">
        <span class="video__player-animation"></span>
           <div class="video__player">
                <i icon="fa fa-player"</i>
            </div>
            <h6 class="video__player-title">...</h6>
        </a>
    </div>
the highlighted text with yellow color is the youtube video link you can change it
Credit Files
I've used the following images, icons or other files as listed.
JavaScript Plugins
Icons
Support
If you need any help. Feel free to contact me anytime. I will reply in 24 hours. Send a mail from Themeforest Profile.
changelog
Initial Release V1.0
Released on Jan 2020.